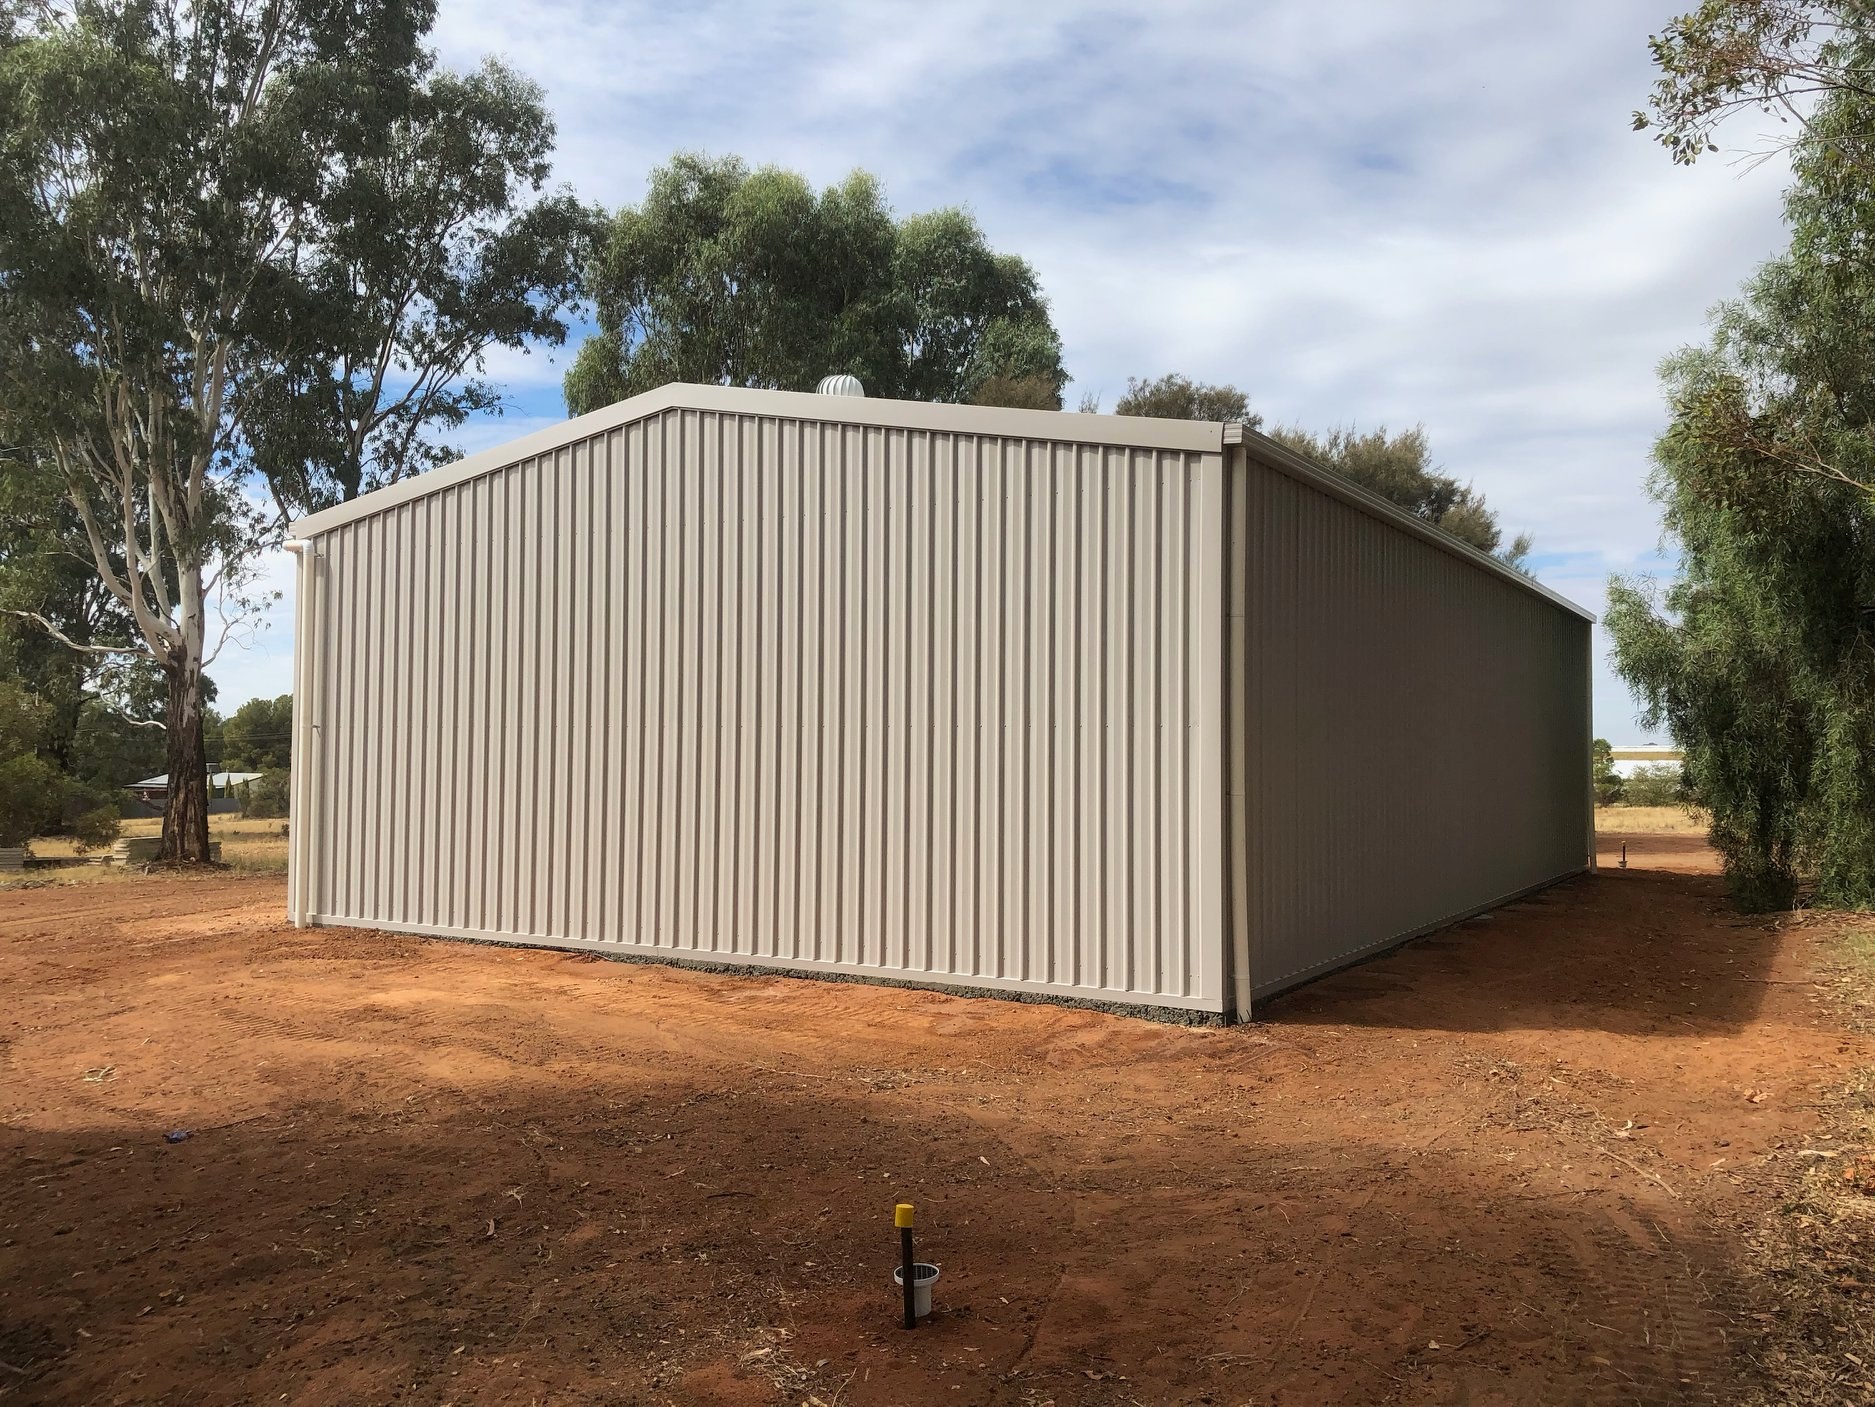
RHS Shed Kits: 6 Expert DIY Installation Tips for Beginners
29 November 2024
Lever’s Concept Constructions offers 6 essential DIY tips to help beginners in Mildura install sturdy and reliable sheds seamlessly using RHS Shed Kits.
RHS shed kits offer a straightforward and practical solution for anyone looking to take on a DIY project, especially beginners. Designed for easy assembly, these kits are perfect for creating everything from storage spaces to workshops. With all the necessary components included, they provide a hassle-free way to construct durable and reliable outdoor structures. RHS shed kits to make the installation process approachable for everyone.
RHS Shed Kits for Beginners: Essential Tools and Preparation
Before diving into the actual assembly, it’s important to gather the right tools and materials. For your RHS shed kit, you’ll need basic equipment like a tape measure, a spirit level, a power drill, and a mallet. Ensure you also have protective gear, such as gloves and safety glasses. At Lever’s Concept Constructions, we always recommend taking the time to prepare your workspace by clearing the ground and marking out the area where your shed will go.
Be mindful of the shed’s foundation. Beginners often overlook this part, but having a flat and stable surface is key to ensuring your RHS shed stands firmly for years. You can opt for a concrete slab, pavers, or even a compacted gravel base. We offer advice on the most suitable foundation options for your shed, considering your specific site conditions.
Easy Frame Assembly: Building the Structure of Your RHS Shed Kit
Building the frame of your RHS shed is where things start to take shape. Follow these 6 RHS shed installation tips for an easy and successful assembly:
• Lay out the Components: Begin by laying out all the parts of your RHS shed kit on the ground. This will help you see the full picture and make the assembly process more organised. Double-check that all components are present before starting.
• Start with the Base Frame: The base frame should be your first task. Using your power drill, secure the corners and ensure everything is level using a spirit level.
• Assemble the Wall Frames: Once your base is sturdy, move on to the wall frames. Attach them securely to the base, ensuring each piece is aligned properly. Make sure you use the right bolts and screws as indicated in your kit instructions.
• Secure the Corners: After the walls are up, focus on the corners. Make sure they are tightly secured with the appropriate brackets and fasteners. A stable corner connection is key to the overall strength of your RHS shed.
• Install the Roof Frame: Next, assemble the roof frame and secure it to the wall frames. Take extra care to align the roof properly, ensuring that it sits evenly on the walls.
• Check for Stability: Finally, walk around the shed and check that everything is solid and properly aligned. If something feels off, now is the time to adjust it. Adding temporary supports if needed to maintain structure during the assembly process.
Lever’s Concept Constructions has been supplying RHS shed kits and offering installation services for over 20 years, helping homeowners and DIY enthusiasts alike. Whether you’re looking for a sturdy garden shed or something more custom, our team is here to assist. We’re ready to provide expert guidance and quality products that stand the test of time. Take the first step towards your DIY shed project with us!
Optimized by: Netwizard SEO
